
24 Hour Service
Call 409-444-0066
The Ultimate Guide to Faucet Replacement
in Port Arthur TX
Step-by-step instructions and tips for homeowners in Port Arthur, TX, ready to replace their faucets with confidence.
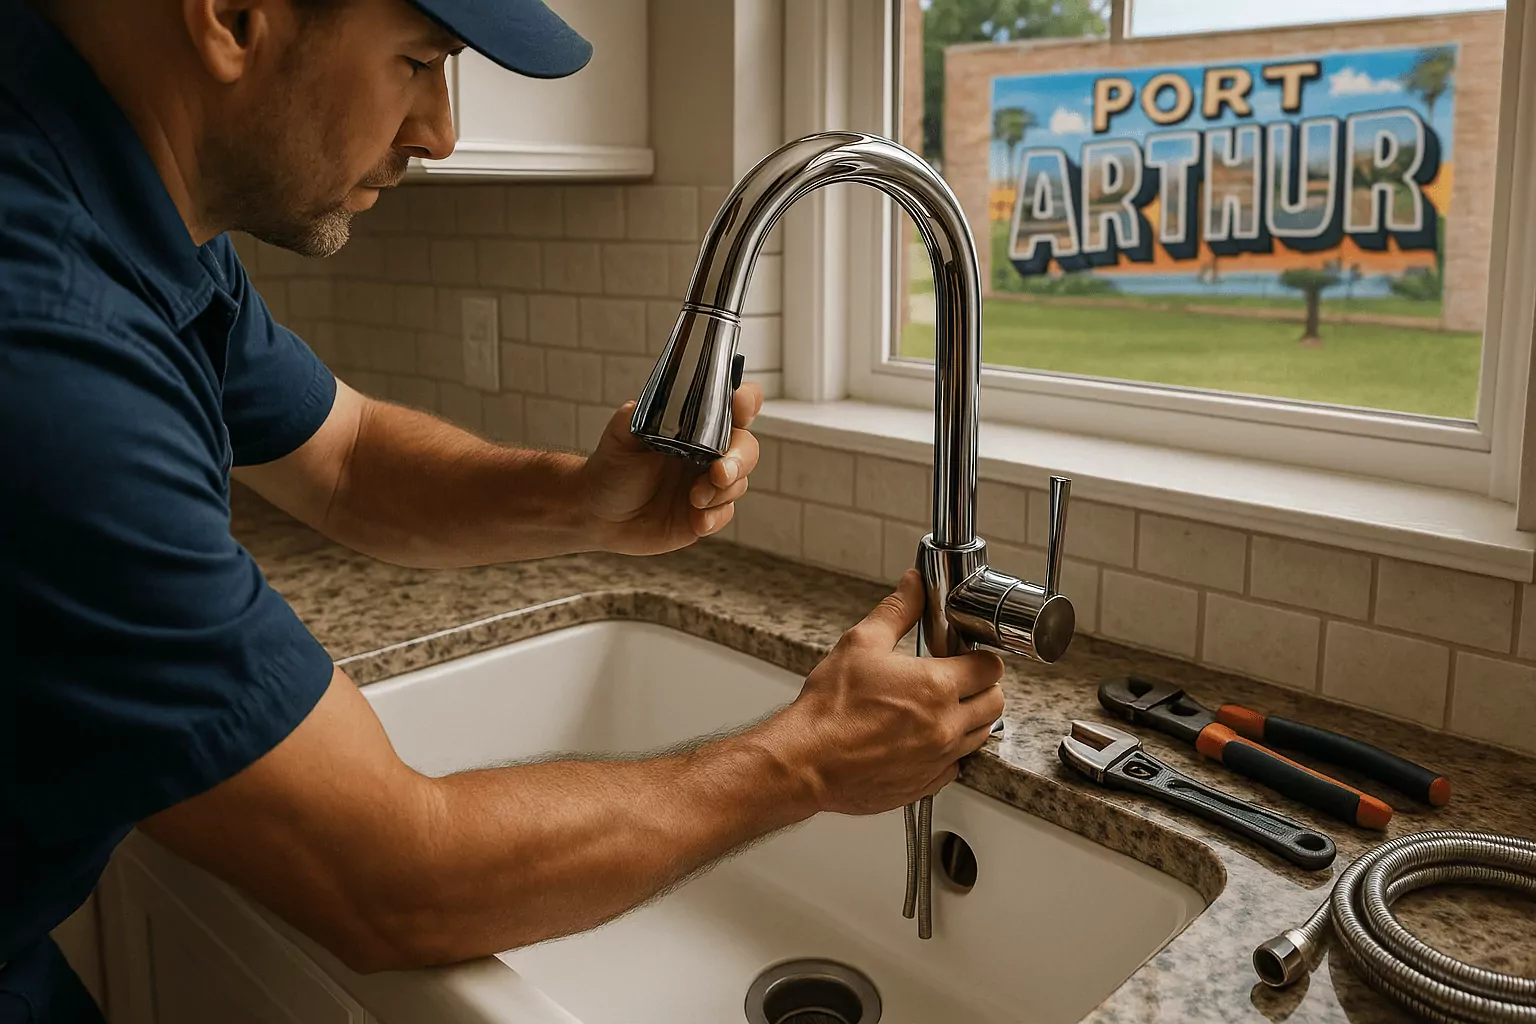
If a dripping handle or rusty spout is eating into your water bill, this guide to faucet replacement Port Arthur TX will help you fix it right the first time. Whether you are tackling a single-handle bathroom faucet or upgrading a kitchen pull-down, we will walk you through tools, steps, and smart decisions that save time and money. Local conditions like hard water and coastal humidity around Jefferson County can accelerate wear, so knowing when to repair versus replace is crucial. You will also find safety tips, code considerations, and brand-agnostic advice that apply to most homes in Southeast Texas. For homeowners who want a quick solution, we include pro insights and pricing cues from real-world jobs nearby. And if you prefer expert help, we share local options and how to schedule service efficiently, plus a direct link for faucet replacement Port Arthur TX information.
Diagnosing Problems and Deciding on Faucet Replacement in Port Arthur TX
Before you pick up a wrench, determine whether your issue is best solved by a repair or a full replacement. Persistent dripping after cartridge or washer replacement usually points to valve seat damage or body corrosion, making a new faucet more cost-effective. Low water pressure isolated to one fixture can come from clogged aerators or supply lines, but scale buildup inside older valves often warrants a swap. In Port Arthur's humid, coastal-influenced climate, corrosion to the spout, escutcheon, or supply connections can progress faster than in drier regions. If finishes are flaking, handles wobble, or you see greenish-blue oxidation, those are strong indicators that a replacement will provide a longer-lasting fix and better water efficiency.
Consider the age and type of your faucet alongside your future plans for the room. Upgrading to a WaterSense-labeled faucet can reduce water use without sacrificing pressure, which is helpful in busy households. If you plan a countertop refresh within a year, choose a faucet that matches your sink configuration (centerset, single-hole, or widespread) to avoid re-drilling later. In kitchens, pull-down sprayers with magnetic docking and ceramic disc cartridges tend to offer better durability and user experience. Homeowners in Southeast Texas often choose spot-resistant stainless or matte black finishes to combat fingerprints and hard-water spotting, adding both style and practicality.
Tools, Materials, and Prep for a Smooth Faucet Replacement Port Arthur TX
Getting the right tools in place will make the job cleaner, faster, and safer. Assemble a basin wrench, adjustable wrench, Phillips and flathead screwdrivers, plumber's putty or 100% silicone (as recommended by the manufacturer), thread seal tape, and a small bucket with towels. New supply lines with braided stainless steel and proper length ensure a secure, leak-free connection to your shut-off valves. If your angle stops are stuck or corroded, plan to replace them while you are under the sink to prevent future headaches. Protect the cabinet base with a tray or cardboard, and snap a few photos of your current setup to reference when reconnecting lines and orientation.
Confirm compatibility before you start by matching the faucet to your sink's hole pattern and deck thickness. Review the installation guide for your specific brand for torque guidance and sealant requirements to avoid voiding the warranty. WaterSense-certified models are a smart pick for efficiency; the EPA's program details performance standards that save water without compromising function. For more on WaterSense standards and choosing efficient fixtures, see the EPA's guide at EPA WaterSense. Lastly, turn off hot and cold shut-off valves, open the faucet to relieve pressure, and place the bucket to catch residual water when you disconnect the supply lines.
Step-by-Step Installation and Texas Code Considerations
Begin by loosening and removing the old supply lines at the shut-off valves and faucet tailpieces, keeping the bucket beneath to catch drips. Use the basin wrench to reach tight mounting nuts, then lift the faucet assembly and any old escutcheon or putty from the sink deck. Clean the surface thoroughly so the new gasket or bead of sealant sits flush and watertight. Position the new faucet per the manual, ensuring the gasket is aligned, and hand-tighten mounting hardware before final snugging to avoid cracking the sink. Connect supply lines, support the faucet while tightening, and avoid cross-threading the fittings to protect valve integrity.
Once everything is secure, slowly open the shut-off valves and check for leaks at every joint while the faucet runs to flush debris. If your model includes a sprayer hose, verify proper docking and confirm there are no kinks or rubbing points under the sink. Follow the manufacturer's guidance on sealant use for escutcheon plates and handle assemblies, and wipe away excess. While most faucet replacements do not require permits for single-family residences, always follow Texas plumbing rules and manufacturer instructions to maintain safety and warranty coverage. For state-level licensing and regulatory information, visit the Texas State Board of Plumbing Examiners at tsbpe.texas.gov, and consult your local municipality if you are unsure about specific project requirements.
Costs, Timelines, and When to Call a Pro Near Port Arthur
Most straightforward faucet replacements take 60-90 minutes for experienced DIYers, longer if angle stops are seized or access is tight. Costs vary based on faucet quality, finish, and added features like touchless sensors or filtration; supply lines and new stops add to the total but can prevent future leaks. Realistically, budget for the faucet itself plus basic materials and a small contingency for surprises like corroded threads. In one recent Southeast Texas case, a homeowner with a heavily corroded two-handle bathroom faucet discovered a failing shut-off valve; replacing both the faucet and valves added under an hour but prevented a future cabinet flood. Expect to spend extra time on cleanup and final polishing to ensure the new fixture looks and functions like new from day one.
Call a licensed plumber when shut-off valves will not close, when you see active leaks in hard-to-reach areas, or when the faucet base will not seal due to a warped sink deck. Professional help also makes sense for touchless systems needing electrical or battery compartment routing, or when switching configurations (for example, covering extra sink holes or adding a side sprayer). If you want brand-specific support or advanced troubleshooting, manufacturers often publish detailed installation guides; for example, see Moen installation instructions. Homeowners in Orange, Beaumont, and Bridge City who prefer a hands-off experience can contact a local pro to handle removal, cleanup, and guaranteed testing. If you are in Port Arthur, you can use this guide to prepare for service, verify scope, and ask informed questions before scheduling.
From diagnosing a persistent drip to setting the final sprayer weight, a well-planned faucet replacement in Port Arthur TX comes down to preparation, quality parts, and careful leak checks. Use this guide to evaluate when to repair versus replace, gather the right tools, and follow a clear step-by-step process. When corrosion, stubborn valves, or configuration changes complicate the job, calling a licensed pro protects your home and your warranty. For additional help, browse brand manuals, WaterSense resources, and Texas plumbing guidelines before you begin. If you prefer expert service, 409 Plumbing is ready to help nearby communities with prompt scheduling and clear pricing.
Call 409 Plumbing at 409-444-0066 or visit our contact form to request service or a quote. We proudly serve Orange, Beaumont, and Bridge City. Explore our plumbing services. For water-saving fixture ideas, review EPA WaterSense, and for health considerations related to older plumbing, see the CDC's lead guidance at cdc.gov. We look forward to helping you choose a faucet that fits your style, saves water, and stands up to Southeast Texas conditions.
Frequently Asked Questions About Faucet Replacement
How long does a typical faucet replacement take, and what can slow it down?
Most straightforward replacements take about 60-90 minutes, including removal, surface prep, installation, and testing. Tight spaces under kitchen sinks, rusted mounting nuts, or seized angle stops can add another 30-60 minutes. Switching from a two-handle to a single-handle configuration may require hole covers or a new escutcheon, which adds setup time. If you are upgrading to a pull-down sprayer, plan a few extra minutes to route and test the hose and counterweight. Thorough leak checks at each connection also take time but prevent callbacks and water damage.
Do I need a permit for faucet replacement in Port Arthur TX?
Faucet swaps in single-family homes typically do not require a permit when you are replacing like-for-like components. However, if you are moving plumbing lines, altering venting, or combining the replacement with larger remodel work, local rules can change the requirements. It is always wise to follow manufacturer instructions and verify local policies before starting, especially in multi-family or commercial settings. For state licensing and regulatory resources, review the Texas State Board of Plumbing Examiners at tsbpe.texas.gov. When in doubt, a quick call to your municipality's building department can provide clarity and prevent compliance issues.
Will a new faucet improve low water pressure at a single sink?
Often, yes-if the problem is isolated to one fixture and caused by clogged aerators, mineral buildup in the cartridge, or a failing internal check valve. Replacing an older faucet with a new model restores full internal passageways and typically includes a clean aerator and flow controller. That said, if both hot and cold supply lines trickle even with the aerator removed, the issue may be with the shut-off valves or household pressure. Inspect for kinked supply lines and test pressure at other fixtures to rule out broader plumbing problems. Choosing a WaterSense-certified model ensures efficient flow while maintaining strong, consistent performance.
What is the difference between centerset, widespread, and single-hole faucets?
Centerset faucets combine spout and handles on a single base and fit sinks with three holes at 4 inches on center. Widespread faucets use separate hot and cold handles with adjustable spacing, usually 6-16 inches, delivering a more upscale look and easier cleaning between components. Single-hole faucets integrate the mixer and spout in one body, offering a modern profile and simpler installation when your sink supports the configuration. If your sink has extra holes, you can use a deck plate to adapt a single-hole faucet or add accessories like soap dispensers or filtered water taps. Always match your faucet choice to the sink's hole pattern to avoid last-minute surprises during installation.

Registered Master Plumber Texas State Board of Plumbing Examiners
RMP #44702
Licensed and Bonded
Cities Serviced
409 Plumbing
Follow Us On
© 2026 409 Plumbing. All Rights Reserved.
Website Design and Hosting Provided by LocalBizBuzz,co