
24 Hour Service
Call 409-444-0066
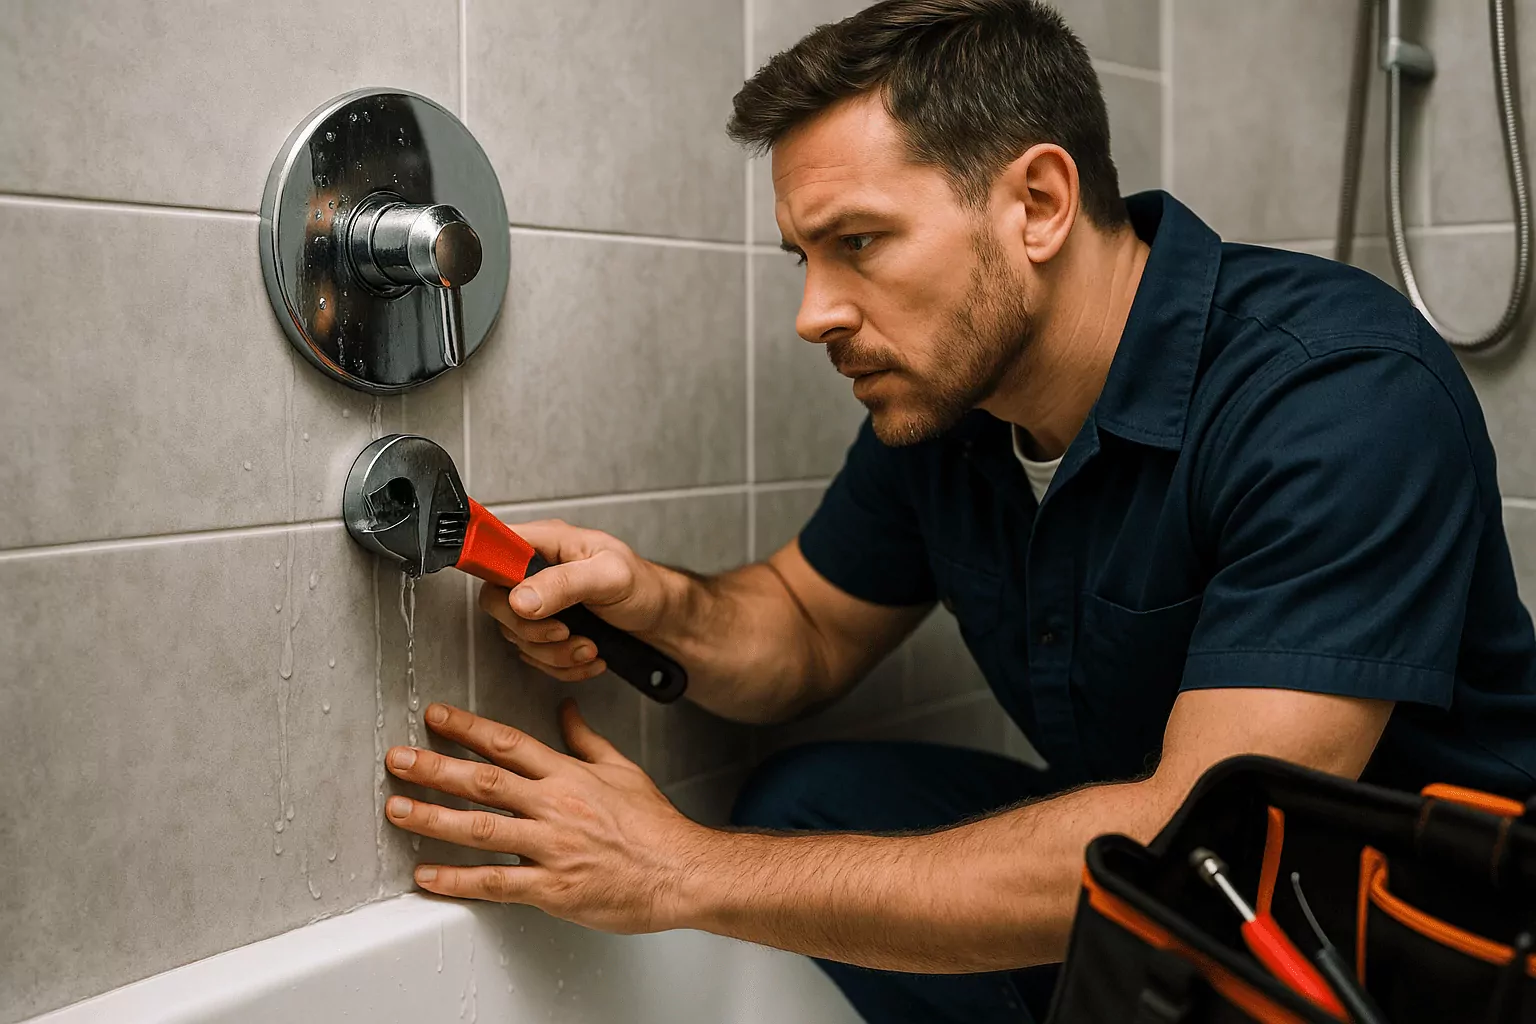
How to Identify and Fix Shower Leaks in Bridge City TX
Simple steps for homeowners in Bridge City, TX to spot and fix shower leaks quickly and save on water bills.
Few home issues escalate as quickly as a hidden shower leak, especially in the humid Gulf Coast climate of Bridge City. Early detection and timely shower leak repair Bridge City TX can prevent mold growth, structural damage, and costly renovations. Whether you live in an older Orange County home or a newer build, showers are exposed to daily wear and water pressure that can expose weak points. In this guide, we break down how to identify the source of a leak and what fixes you can confidently try. You will learn the most common causes, simple tests that work, and when to bring in a licensed professional. With practical steps, local insights, and expert tips, you can keep your bathroom safe, efficient, and leak free.
Finding the Source: Practical Diagnostics for Shower Leak Repair Bridge City TX
Accurate diagnosis is the foundation of any effective repair, and it starts with distinguishing between supply, drain, and surface leaks. Begin by running the shower for several minutes while checking the floor outside the enclosure for dampness and the ceiling below for fresh stains. If moisture appears only during a shower, the issue is often at the door sweep, pan liner, grout, or wall penetrations around fixtures. If water shows up even when the shower is off, a pressurized supply line or valve body could be the culprit. In Bridge City homes with crawlspaces, a bright flashlight and dry paper towels help pinpoint drips on traps or risers, while a moisture meter can confirm damp drywall or subflooring that looks deceptively normal.
Surface problems are the most common and easiest to test. Splash test the enclosure by using a handheld sprayer to wet one wall and corner at a time, watching closely for seepage. Focus on grout lines, cracked caulk at change-of-plane joints, and the door threshold where water routinely gathers. If leaking shows up only when you wet a certain area, you likely have failed caulk or grout, or a compromised shower pan near that zone. For musty odors or suspected mold, review the EPA's guidance on safe cleanup and moisture control to protect your family and reduce health risks.
Step-by-Step Fixes Homeowners Can Try for Shower Leak Repair Bridge City TX
Once you locate the likely source, start with targeted, reversible repairs before opening walls. For failing caulk, remove all old material with a plastic scraper and a caulk softener, then clean seams with isopropyl alcohol. Use 100 percent silicone bathroom caulk on vertical corners and where tile meets the tub or pan, tooling it smooth and letting it cure fully before use. For minor grout cracks, use a polymer-modified grout or a grout repair product, then seal the grout after curing to reduce future absorption. If the shower arm is leaking behind the wall, remove it carefully, apply fresh PTFE tape in the correct direction, and reinstall snugly to stop seepage at the elbow.
When leaks persist around a faucet trim, re-seat the escutcheon with a new foam or silicone gasket, ensuring a watertight seal at the wall. A constantly dripping shower head often points to a worn cartridge in the mixing valve, which you can replace by shutting water off, pulling the old cartridge, and installing the manufacturer-approved part. If you find the drain assembly is weeping, re-pack the drain flange with plumber's putty or replace the gasket beneath the strainer body. For stubborn or uncertain issues, do not hesitate to schedule professional diagnostics. For fast local help with shower leak repair Bridge City TX, you can explore full-service options on our plumbing services page or contact 409 Plumbing to book an inspection today.
Prevention, Materials, and When to Call 409 Plumbing for Shower Leak Repair Bridge City TX
Prevention saves money in the Gulf Coast climate, where high humidity compounds minor seepage into bigger problems. Reseal grout annually with a penetrating sealer and inspect caulk twice a year, especially at vertical corners and the curb. Ensure your shower door sweep is intact, aligned, and replaced when brittle, because a faulty sweep can direct water under thresholds into adjacent rooms. Add a high-quality bathroom exhaust fan, run it during showers, and keep it on for 20 minutes afterward to reduce condensation and mildew pressure on finishes. If your tile sounds hollow or your pan flexes underfoot, plan a proactive rebuild rather than risk subfloor rot or mold growth, following industry best practices such as those referenced by the IICRC water damage standards.
Professional intervention is wise when tests give mixed results, leaks affect lower ceilings, or structural elements show damage. In Bridge City and nearby Beaumont and Orange, slab foundations can mask slow supply leaks that require pressure testing and thermal imaging to confirm. Licensed plumbers can perform isolation tests on shower valves, dye tests on drains, and camera inspections to verify failures without excessive demolition. If a rebuild is needed, a pro can recommend modern waterproofing membranes, correct slope to drain, and durable grout systems that cut future maintenance in half. For expert guidance tailored to your home, explore our latest tips on the 409 Plumbing blog or schedule a visit through our contact form.
With the right tests, materials, and maintenance, you can stop small leaks early and avoid extensive water damage in your home. Focus on accurate diagnosis, repair only what is necessary, and plan proactive upgrades where finishes or pans are nearing the end of their service life. When you need professional support, 409 Plumbing offers prompt, licensed service for Bridge City, Orange, and Beaumont homeowners. Call 409 Plumbing at 409-444-0066 to schedule an inspection today. Explore our full list of plumbing services and contact us for fast, reliable shower leak repair solutions. For safe cleanup guidance and moisture control, review the EPA's mold basics, and always verify licensing through the TSBPE for peace of mind.
Frequently Asked Questions About Shower Leak Repair
How can I tell if my shower leak is from the valve, the drain, or the pan?
Start by running the shower and checking for active drips below the bathroom to see if the leak is use-dependent. If water shows up with the shower off, it usually points to a pressurized supply or valve issue rather than a drain or pan problem. Conduct a splash test by wetting one wall at a time and watching for moisture to isolate surface failures like cracked caulk or grout. For drains, fill the pan a few inches and let it sit without running the shower head, then inspect below for seepage that signals a drain or pan liner fault. A licensed technician can refine these tests using a moisture meter, pressure testing, and sometimes a small inspection camera to confirm the exact source.
Is caulk or grout better for stopping small shower leaks in Bridge City homes?
Caulk and grout serve different purposes, and using them correctly matters for long-term performance. Use 100 percent silicone caulk at change-of-plane joints, around the tub or pan perimeter, and at fixture penetrations where movement occurs. Grout belongs between tiles on flat planes, and hairline grout cracks can often be repaired with polymer-modified grout or a grout repair compound. After grout cures, seal it with a high-quality penetrating sealer to resist moisture intrusion and staining. For areas with mold or mildew, follow the EPA's mold basics to clean and dry surfaces completely before applying new materials so repairs adhere and last.
How long does shower leak repair Bridge City TX typically take, and what affects cost?
Minor surface fixes like removing and replacing caulk or re-seating an escutcheon can be completed in a few hours, plus curing time. Replacing a cartridge often takes under two hours if shutoffs are accessible and the part is in stock. Drain assembly work or pan-related repairs may span a half day to multiple days depending on access from below and drying requirements. Full shower rebuilds that address pan liner failures or widespread tile delamination can take several days to a week, especially when proper waterproofing and inspections are included. Costs vary by scope, materials, and access, so a quick onsite evaluation by a licensed plumber ensures accurate pricing and a durable solution.

Registered Master Plumber Texas State Board of Plumbing Examiners
RMP #44702
Licensed and Bonded
Cities Serviced
409 Plumbing
Follow Us On
© 2026 409 Plumbing. All Rights Reserved.
Website Design and Hosting Provided by LocalBizBuzz,co