

Expert Tips for Replacing Your Water Heater Thermostat in Port Arthur
Step-by-step instructions and practical advice for homeowners in Port Arthur to easily replace their water heater thermostat.
If your showers are turning lukewarm or scalding hot without warning, it might be time to replace your water heater thermostat in Port Arthur. This guide walks Port Arthur homeowners through practical steps to diagnose issues, choose the right parts, and complete a safe, effective swap. For easy reference and local SEO relevance, here is a direct resource for the term replace water heater thermostat Port Arthur. You will learn how thermostats interact with heating elements, what tools are required, and when to call a licensed plumber versus attempting a DIY fix. We will also cover safety protocols aligned with national guidelines to help you avoid electrical and scalding hazards while working on your unit. By the end, you will know how to troubleshoot, repair, and fine-tune your system so you can restore consistent, efficient hot water in your Port Arthur home.
How thermostats work and common signs it is time to replace water heater thermostat Port Arthur
A water heater thermostat measures tank temperature and signals the heating element or burner when to cycle on and off. Electric water heaters typically have two thermostats and two elements, one upper and one lower, each playing a role in how quickly water reheats and how evenly heat is distributed. When a thermostat drifts out of calibration or fails, you may notice inconsistent temperatures, long recovery times, or a sudden lack of hot water. In Port Arthur homes with higher mineral content, sediment can exaggerate these problems by insulating the element and forcing thermostats to run longer than intended. If you also see the reset button tripping on the upper thermostat, hear crackling from the tank, or find scorch marks on wiring, it is a strong indicator the thermostat or an element has failed and needs prompt attention.
One local case we see often involves partial hot water: the shower starts warm, then cools rapidly, suggesting the lower thermostat or element is not engaging. Another common scenario is scalding spikes, which happen when a defective thermostat sticks closed and overheats the tank, a serious safety risk in any household. You may also observe energy bills creeping upward as the heater short-cycles or runs more often than necessary to maintain set temperature. If your unit is older than 8-12 years, the thermostat failure could coincide with broader wear, from corroded terminals to a fatigued anode rod. Careful diagnosis will tell you whether a thermostat swap alone solves the problem or if other maintenance, like draining sediment or replacing a heating element, is also necessary.
Tools, parts, and safety prep before you replace water heater thermostat Port Arthur
Safety comes first: always cut power at the breaker for electric units or set a gas control to pilot/off and close the gas valve before touching wiring or controls. Confirm power is truly off with a non-contact voltage tester and label wires or snap photos for accurate reconnection later. Choose a thermostat compatible with your water heater brand and voltage, and plan to replace any brittle wiring, damaged wire nuts, or deteriorated insulation you discover. It is smart to verify the heating elements' resistance with a multimeter during the same visit, because a weak or failed element can mimic thermostat problems. For scald prevention and efficiency, plan to set the target temperature to about 120 F, a level supported by safety authorities and energy experts.
Port Arthur's humidity and seasonal storms can also affect your prep list, especially if the heater is in a garage or utility space prone to moisture. Look for corrosion or rust near the thermostat cavity that could interfere with mounting or electrical connections. If you find water around the base of the heater, pause and inspect the T&P valve and drain valve before proceeding, because leaks can point to tank issues that a thermostat replacement will not fix. Homeowners with time-of-use electricity rates may also benefit from checking insulation blankets and pipe insulation to reduce standby losses after the repair. These small upgrades, combined with the new thermostat, can stabilize temperatures and lower utility costs year-round.
Step-by-step overview: safely replace water heater thermostat Port Arthur
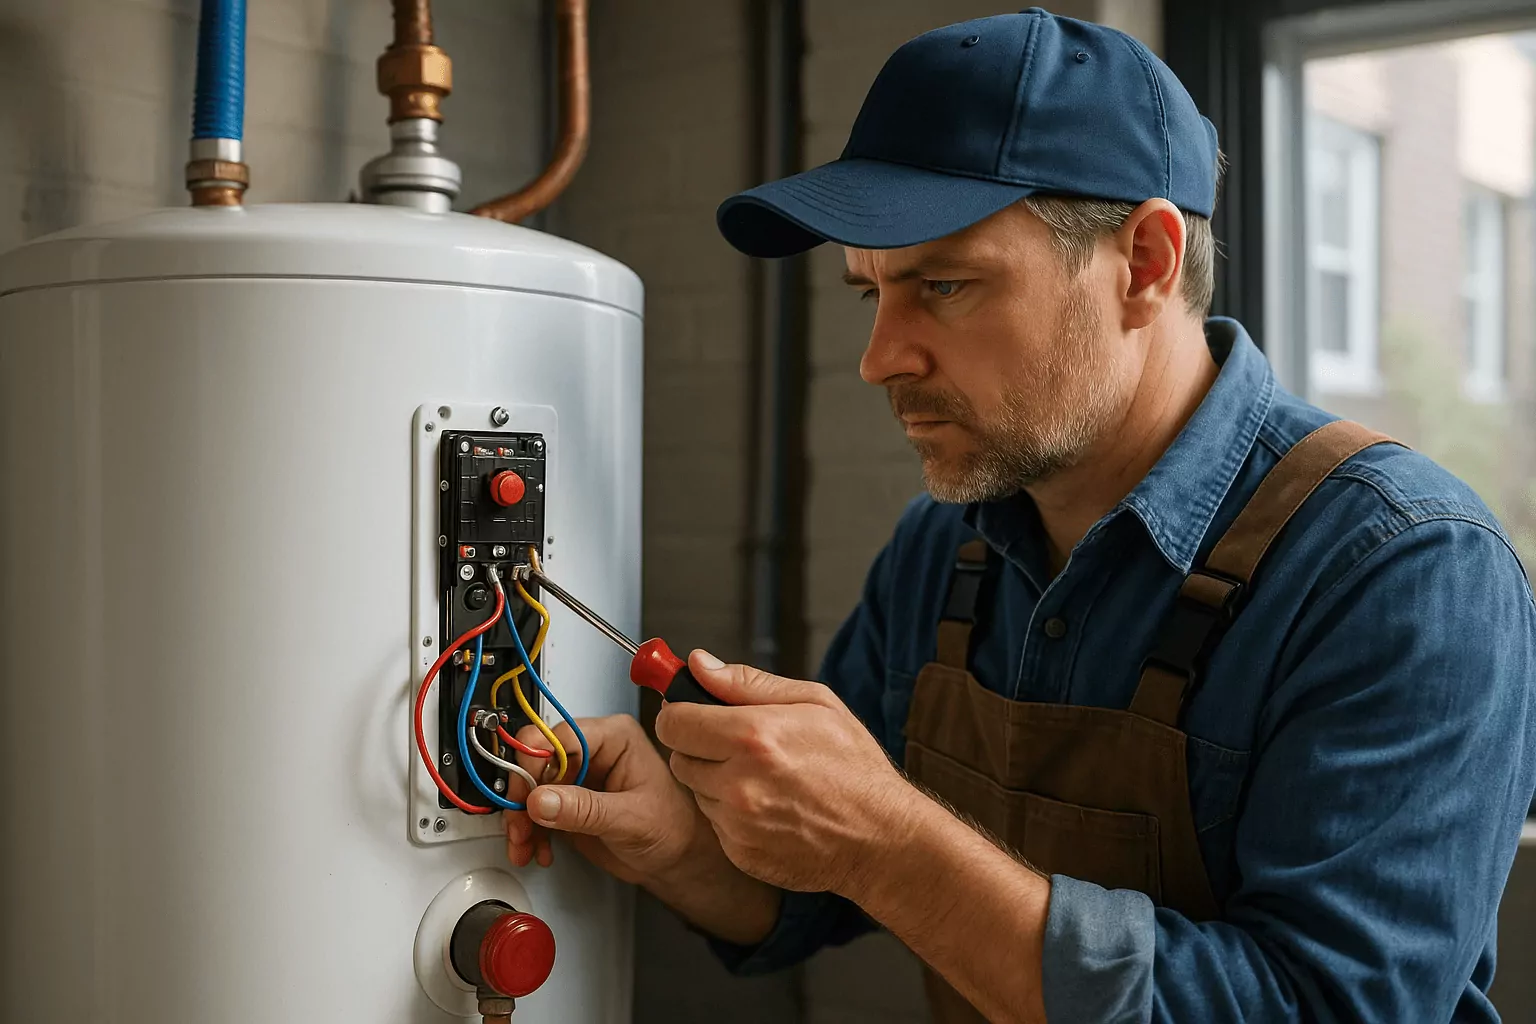
Start by powering down the unit and removing the access panel and insulation to reveal the thermostat and, on many models, the element terminals. Photograph the wiring layout, then loosen terminal screws and gently free the wires to avoid bending connectors or cracking insulation. If your heater has two thermostats, test and replace the one that diagnostics indicate is faulty, usually the upper first if you have zero hot water and the lower if you have quick temperature drop-off. Seat the new thermostat firmly against the tank wall so it can properly sense temperature; a loose or crooked fit will cause erratic cycling. Reconnect wires to their original terminals, tighten screws snugly, and restore the insulation and metal cover so the thermostat operates in a controlled environment.
After restoring power, set the temperature dial to 120 F, then allow the tank to heat for at least 30 minutes before testing hot outlets throughout the home. Check for short-cycling or tripped reset buttons, which can indicate loose wiring, a mis-seated thermostat, or a failing element drawing too much current. If you address both thermostat and element issues in one visit, you can usually resolve no-hot-water complaints and stabilize performance quickly. For a simple way to keep this information handy and relevant to your locale, bookmark this link to replace water heater thermostat Port Arthur so you can reach out for help if something looks off. As a final check, inspect for leaks at the element gasket area (if disturbed), confirm the access cover sits flush, and verify hot water is consistent at multiple fixtures.
DIY vs. hiring a pro in Port Arthur: costs, timelines, and case studies
Swapping a water heater thermostat can be a straightforward DIY task if you are comfortable with basic electrical safety and have a multimeter. Parts typically range from $20-$60 per thermostat, and most homeowners can complete the job in 60-90 minutes once tools are assembled. That said, if you uncover burned wiring, a tripping breaker, or a leaky tank, it is time to bring in a licensed plumber who can diagnose issues beyond the thermostat. In one Port Arthur case, a homeowner replaced a lower thermostat but still had lukewarm water; testing revealed a grounded lower element, and the combined element-and-thermostat replacement restored full capacity. Another nearby example involved a rental property with recurring scald complaints; a faulty upper thermostat plus sediment buildup were the culprits, and a full maintenance service, including flushing the tank, solved the problem and cut complaints to zero.
Hiring a pro can also save warranty headaches, especially if your heater is under manufacturer coverage and requires documented service. A licensed technician will verify voltage, element resistance, grounding, and gas control function (for gas units) as part of a complete safety check. If you want help right away, schedule an appointment with 409 Plumbing via our service pages: explore water heater solutions at Services: Water Heaters and request an estimate or book time at Contact 409 Plumbing. For ongoing tips on extending your heater's lifespan, visit our learning center at 409 Plumbing Blog and look for water heater maintenance checklists. Whether you DIY or hire out, factor in the value of testing elements, inspecting the T&P valve, and flushing sediment so your new thermostat does not work harder than it should.
Replacing a water heater thermostat in Port Arthur is a manageable project when you follow a proven process: verify power off, test components, install the correct part, and set to 120 F. Watch for clues like tripped reset buttons, rapid temperature drop-offs, or scorching on terminals to decide if you also need an element or wiring repair. Prep your workspace, have the right tools ready, and consult reliable references to avoid time-consuming mistakes and safety hazards. If you prefer professional help, 409 Plumbing is ready to assist from Orange, TX, serving nearby communities including Beaumont and Bridge City. Call 409 Plumbing at 409-444-0066 to schedule expert water heater diagnostics and thermostat replacement. For fast booking or estimates, use our online pages at Services and Contact, and explore maintenance tips on our Blog so your hot water stays reliable all year.
Frequently Asked Questions About Replacing Water Heater Thermostat
How do I know if my thermostat or the heating element is the problem?
Start by noting the symptom pattern: no hot water at all often points to the upper thermostat or upper element, while hot-then-cold cycles often implicate the lower thermostat or element. Use a multimeter to test continuity and resistance at each element; a healthy element typically shows 10-20 ohms depending on wattage and voltage. If the element tests open (infinite resistance) or shorted to ground, replace it, because a new thermostat will not fix a failed element. If elements test fine, check voltage at the thermostat terminals and confirm the reset button is not tripping, which can signal overheating or wiring faults. Document your readings and, if unsure, call a pro to avoid misdiagnosis that leads to repeated part swaps and extra downtime.
Is it safe to replace a water heater thermostat myself?
It can be safe if you follow strict lockout procedures, verify power is off with a tester, and keep wiring connections clean and tight. Always replace damaged wire nuts and brittle conductors, and never work in standing water or with wet hands. For gas heaters, many models use integrated gas controls rather than separate thermostats, so special procedures and leak checks are needed after any service. Setting the temperature to around 120 F helps reduce scald risk, a recommendation echoed by safety authorities such as the Consumer Product Safety Commission. If at any point you see burned insulation, tripped breakers, or smell gas, stop and contact a licensed plumber or electrician immediately.
What temperature should I set after I replace water heater thermostat Port Arthur?
Set your thermostat to approximately 120 F, a balance that reduces scald risk and helps improve energy efficiency for most households. According to federal energy guidance, lowering setpoints from higher temperatures can reduce standby losses and monthly utility spend without sacrificing comfort. Households with immunocompromised members sometimes evaluate higher setpoints, but that should be weighed against scalding risks and discussed with a professional. After setting, wait 30-60 minutes and test multiple fixtures to confirm stable, comfortable hot water delivery. Recheck the setting after a day or two, because some dials are sensitive and may need a minor nudge to lock in your target temperature.
How much does it cost in Port Arthur, and how long will it take?
For DIY, expect $20-$60 for the thermostat and perhaps $15-$30 for incidentals like wire nuts and insulation tape. If a heating element is also bad, add $20-$60 per element plus the time to drain and reseal the tank. Professional service in the Port Arthur area typically runs higher due to diagnostic time, safety checks, and warranty documentation, but it can prevent repeat visits and misdiagnosis. Most straightforward thermostat swaps take about 60-90 minutes, while element replacements can extend the visit by another 45-90 minutes depending on sediment and access. Ask for an upfront estimate and a quick system check so you know the total scope before work begins.

Registered Master Plumber Texas State Board of Plumbing Examiners
RMP #44702
Licensed and Bonded
Cities Serviced
409 Plumbing
Follow Us On
© 2026 409 Plumbing. All Rights Reserved.
Website Design and Hosting Provided by LocalBizBuzz,co