
24 Hour Service
Call 409-444-0066
Expert Tips for Bathtub Faucet Repair in Port Arthur TX
Practical solutions for homeowners in Port Arthur TX facing common bathtub faucet issues, ensuring quick and effective repairs.
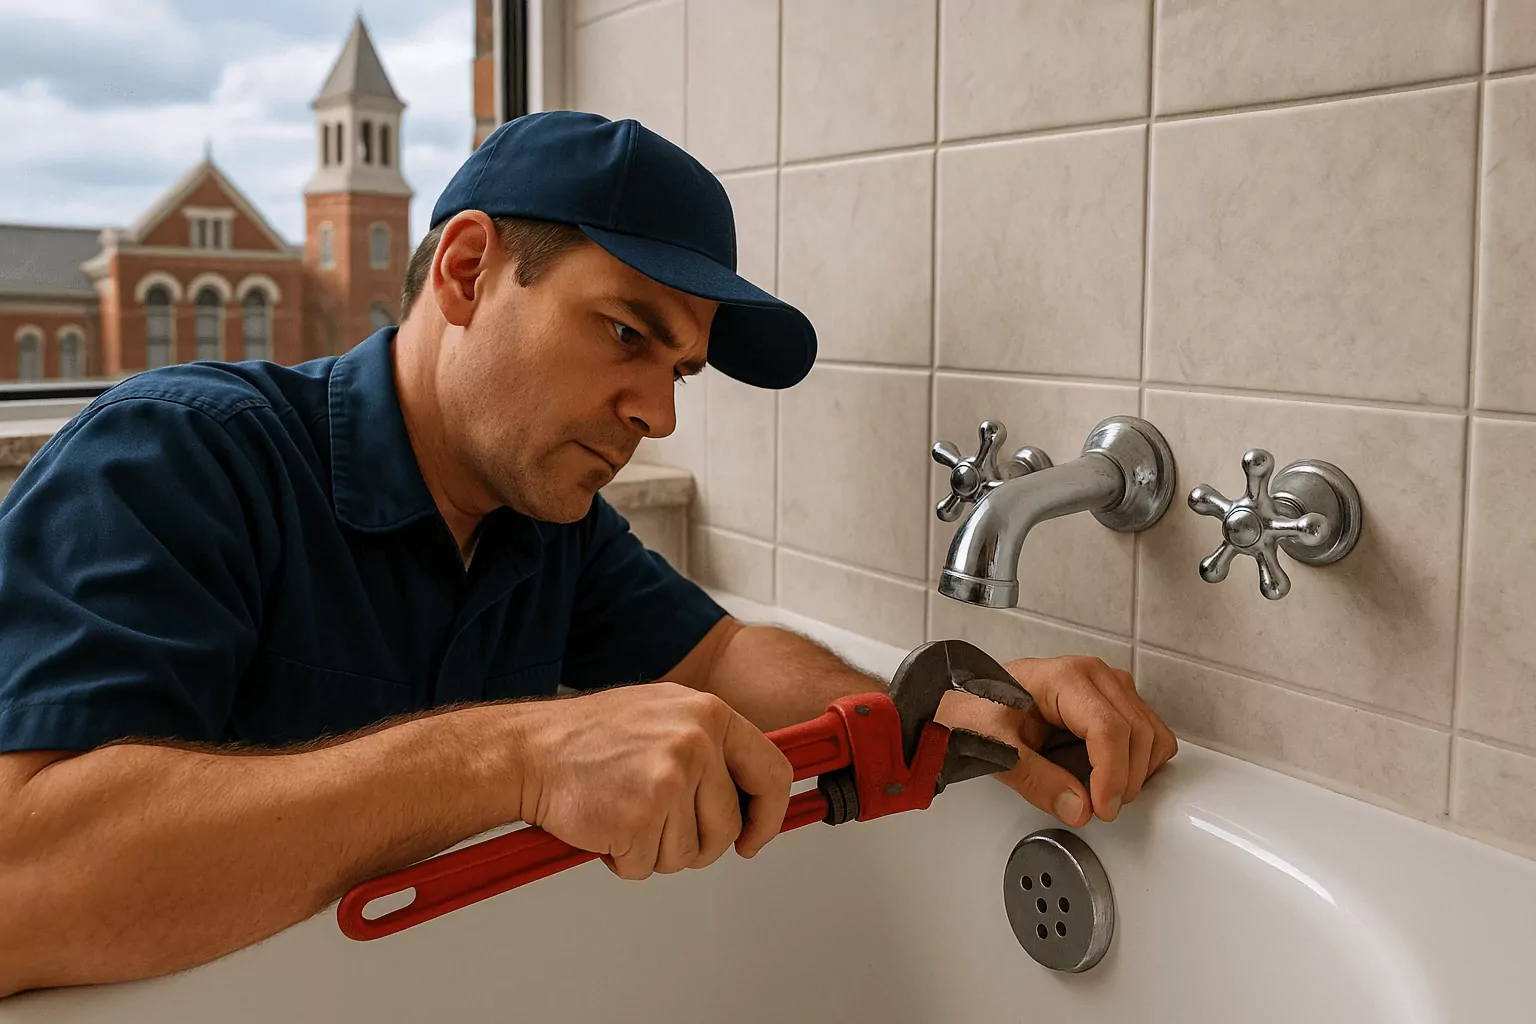
If you are dealing with a leaky tub spout, a stubborn diverter, or a squeaky handle, this guide to bathtub faucet repair Port Arthur TX will help you fix the issue with confidence. In Port Arthur and the neighboring Golden Triangle communities, hard water scale and aging fixtures often cause faucet problems that waste water and raise utility bills. Here you will learn how to diagnose symptoms, gather the right tools, and follow step-by-step techniques to restore smooth operation. We will also cover safety best practices, local code considerations, and when it makes sense to call a licensed plumber. To help you plan effectively, we include real-world examples from homes in Port Arthur, Orange, and Beaumont. For a quick reference or to connect with a local pro, you can explore bathtub faucet repair Port Arthur TX resources and service options.
The first step in any bathtub faucet repair in Port Arthur TX is to pinpoint where water is escaping and why it started. A continuous drip from the spout usually points to a worn cartridge, valve seat, or compression washer that cannot form a tight seal. If water sneaks out of the tub spout while the shower is running, the diverter may be failing or clogged with mineral deposits. Stiff handles, grinding noises, or inconsistent hot and cold mixing often signal a failing stem or O-ring that needs replacement. Before taking anything apart, turn off the water at the shutoff valves or main supply, and take a few photos of the current setup for reference during reassembly.
In Port Arthur, sediment buildup from municipal water can accelerate wear on faucet internals and clog aerators and diverter passages. If your faucet is more than 10 years old and has never had a cartridge replacement, a rebuild can drastically reduce drips and improve temperature control. Look closely at the escutcheon plate and surrounding caulk for signs of seepage that could allow moisture behind the wall. During your inspection, gently wiggle the tub spout and handles to check for looseness or stripped set screws that can cause erratic operation. Keep notes of any brand markings or model numbers you find, as these details help you source exact-fit replacement parts quickly.
Working efficiently starts with having the right tools and replacement parts on hand before you open the wall or remove a handle. Most homeowner repairs require a screwdriver set, adjustable wrench, hex keys, needle-nose pliers, plumber's grease, and a cartridge puller for certain brands. Keep thread seal tape, replacement O-rings, new washers, and the correct cartridge or stems ready to go so you can complete the job in one session. If your tub spout uses a slip-fit connection, pick up a new set screw and verify the spout length matches the tile-to-nipple distance. Always have a towel and small bucket nearby to catch residual water and protect your tub surface from dropped hardware.
Safety matters, particularly when you are repairing a faucet near finished walls and electrical switches. Shut off the water supply and briefly open the faucet to relieve pressure before disassembly to avoid surprise sprays. Tape off the drain with painter's tape to stop screws and clips from falling into the trap where retrieval is difficult. If you suspect the valve body is cracked or corroded within the wall, consider calling a licensed professional to avoid a hidden leak that could damage framing. When in doubt about components and compatibility, verify parts using the manufacturer's exploded diagrams and local supply house recommendations to prevent repeat disassembly.
Begin by removing the index cap on the handle, then loosen the set screw or handle screw to detach the handle and trim. Slide off the escutcheon and note any silicone bead that should be replaced later to maintain a splash seal against the wall. If you have a single-handle mixing valve, use the cartridge puller or pliers to gently remove the cartridge, keeping it oriented for reference during reinstallation. Inspect the cartridge for torn seals, mineral scale, or cracked plastic that would compromise performance and cause drips. Clean the valve body with a soft brush, apply a thin layer of plumber's grease to O-rings, and install the new cartridge in the same orientation, securing any retaining clip properly.
For two-handle compression faucets, unscrew the bonnet nut and pull the stem to access the washer and seat. Replace worn washers with the exact size and verify the valve seat is smooth; if it is pitted, use a seat wrench to replace it or a seat dressing tool if it is serviceable. Reassemble carefully, tighten snugly but avoid overtightening, and reapply a fresh bead of silicone behind the escutcheon to stop splash intrusion. If your shower diverter is inside the tub spout and you notice water dribbling from the spout while showering, replace the spout or diverter assembly as a unit. Turn water on slowly, test temperature control and shutoff, and check behind the trim for any signs of seepage before final cleanup.
Some issues are better handled by a licensed plumber, especially when corrosion has damaged the valve body or the wall needs to be opened for a full replacement. In older Port Arthur homes, galvanized piping or mixed-metal connections can complicate repairs and increase the risk of future leaks if not updated with proper dielectric fittings. Local plumbing codes and manufacturer installation requirements should guide choices such as scald protection and pressure balance or thermostatic valves. For code and licensing clarity in Texas, review guidance from the Texas State Board of Plumbing Examiners at tsbpe.texas.gov. To make informed choices on water-saving fixtures and leak prevention, check the EPA WaterSense resources at epa.gov/watersense/fix-leak-week.
We recently assisted a Port Arthur homeowner whose single-handle tub/shower was dripping a gallon per day, driving up monthly water costs. After diagnosing a worn pressure-balance cartridge and a failing diverter spout, we replaced both components and restored quiet, drip-free performance. Another case in Orange involved a two-handle valve with pitted seats that would not seal even with new washers; replacing the seats and stems solved the issue permanently. In Beaumont, a family had sporadic temperature swings due to scale-clogged balancing ports; a new cartridge and thorough flushing stabilized temperatures and improved safety. If you prefer a professional repair with a parts-and-labor guarantee, the team at 409 Plumbing can help you plan the best fix and timeline for your home.
Bathtub faucet repair in Port Arthur TX is well within reach when you follow a clear diagnostic process, use the right tools, and replace worn components with brand-matched parts. By addressing drips, diverter issues, and temperature instability promptly, you can save water, lower bills, and protect your bathroom from hidden moisture damage. When a repair involves corroded valve bodies, wall access, or code questions, partnering with a licensed pro ensures a safe and lasting solution. For friendly expert help, contact 409 Plumbing by calling 409-444-0066 to schedule service in Orange, Beaumont, Bridge City, and surrounding areas. Explore related services at our services page, request an estimate via our contact form, and learn more DIY tips on our blog. If you are ready to fix that drip for good, our local team can deliver fast, code-compliant solutions backed by a satisfaction guarantee.
Frequently Asked Questions About Bathtub Faucet Repair
How do I stop a dripping bathtub faucet in Port Arthur TX?
Start by shutting off the water supply to the bathroom or the whole house if dedicated shutoffs are not present. Remove the handle and trim to expose the cartridge or stem, taking photos as you go to document orientation. Replace worn components such as the cartridge, compression washer, O-rings, and any damaged retaining clips with brand-matched parts. Inspect and, if necessary, replace or dress the valve seat so the new washer or cartridge can seal properly. After reassembly, turn the water on slowly, test for leaks at multiple temperatures, and reapply silicone behind the escutcheon to prevent splash intrusion.
Why does water still come out of the tub spout when the shower is on?
This usually indicates a failing diverter, either inside the tub spout itself or integrated into the valve assembly. Mineral scale common in the Port Arthur area can prevent the diverter from fully sealing, sending some water to the spout instead of the showerhead. If your diverter is built into the spout, replacing the spout assembly is often the fastest and most cost-effective solution. For integrated diverters, remove the trim, clean internal passages, and replace the diverter mechanism if worn or cracked. After replacement, run the shower for several minutes to confirm a full seal and proper temperature control.
What causes low water pressure at my bathtub faucet?
Low flow at the tub spout may stem from sediment buildup in the cartridge, a partially closed shutoff, or a clogged aerator on certain spouts. In older homes, constricted piping or a failing pressure-balancing cartridge can also reduce flow and cause temperature fluctuations. Begin by verifying that shutoff valves are fully open and flush the system to clear debris from the valve body. If performance remains poor, remove and inspect the cartridge or stems for scale and replace them if sealing surfaces are damaged. When multiple fixtures show low pressure, consider a broader home plumbing inspection to rule out main supply issues or aging galvanized lines.
Do I need to worry about plumbing codes for bathtub faucet repair in Port Arthur TX?
Yes, any valve replacement or significant alteration should follow current manufacturer instructions and applicable plumbing codes for safety and durability. Pressure-balance or thermostatic control is recommended to reduce scald risk, especially in homes with children or seniors. Use certified lead-free components that meet NSF/ANSI 61 to protect water quality; you can learn more at nsf.org. If you are unsure about compliant installation, consult a licensed professional familiar with Texas requirements and local inspection practices. Proper documentation and correct materials not only enhance safety but also protect your home's value.

Registered Master Plumber Texas State Board of Plumbing Examiners
RMP #44702
Licensed and Bonded
Cities Serviced
409 Plumbing
Follow Us On
© 2026 409 Plumbing. All Rights Reserved.
Website Design and Hosting Provided by LocalBizBuzz,co